| |
|
|
| |
Audio Normalization is the process of optimizing the gain or volume of an audio to reach the target level without distorting it. Audio Normalization is often used to adjust the loudness of an audio like MP3 so that it will play at about the same volume level. By using audio editing software like Dexster, you can easily normalize audio to the desired rate level. To start normalizing your audio, download Dexster Audio Editor and read on the tutorials below. |
| |
1. Install Dexster Audio Editor |
| Once the setup file is downloaded, run the setup and follow the screen instructions to install Dexster Audio Editor. |
| |
2. Load Audio |
| Run the software and click on the Open button on the toolbar to load audio for normalization. You may select audio types from MP3, WAV, AAC, FLAC, OGG, WMA, M4A, etc. |
 |
| |
3. Select the part of the Audio |
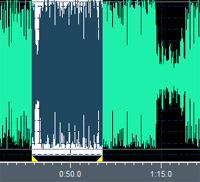
| Once the audio has been loaded into the editing panel, select the part of the audio that you would like to normalize. |
 |
| |
4. Normalize Audio |
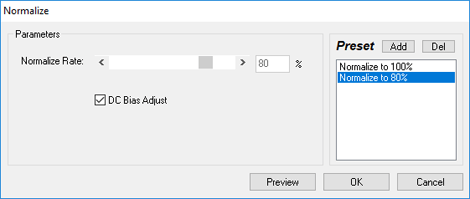
| Click on the Effects tab on the right panel. Scroll down and double click on the Normalize. From the Normalize screen that appears, adjust the Normalize Rate that you wish to target. You may click on the Preview button to hear the preview version or click on the OK button to apply the Normalization to the audio. |
 |
| |
5. Save Your Audio |
| You may then save the changes that you've made to your audio by clicking on the Save button on the toolbar. |
| |
| |
 |
| |
| |
|
| |
 |
Dexster Audio Editor |
| Price: USD 45 |
| for Windows 7, 8, 10, 11 |
| |
 |
 |
| |
|
|
| |